Nearly a year ago, friend of Maniacal Labs Patrick Connelly (or pcon as we call him) came to me with a question: “Are there any cheap and compact laser engravers that are meant to be brought to the workpiece instead of the other way around?”
It was a good question. While the answer was technically “yes”, there was really only one design (that was clearly cloned under a dozen different names) but it was lackluster at best. It was very small with only a ~75mm square engraving area, while using cheap motion control components and a weak laser. Even worse, all the electronics and firmware were some proprietary junk. It just wouldn’t do.
So his next question was: “Can you build one?”
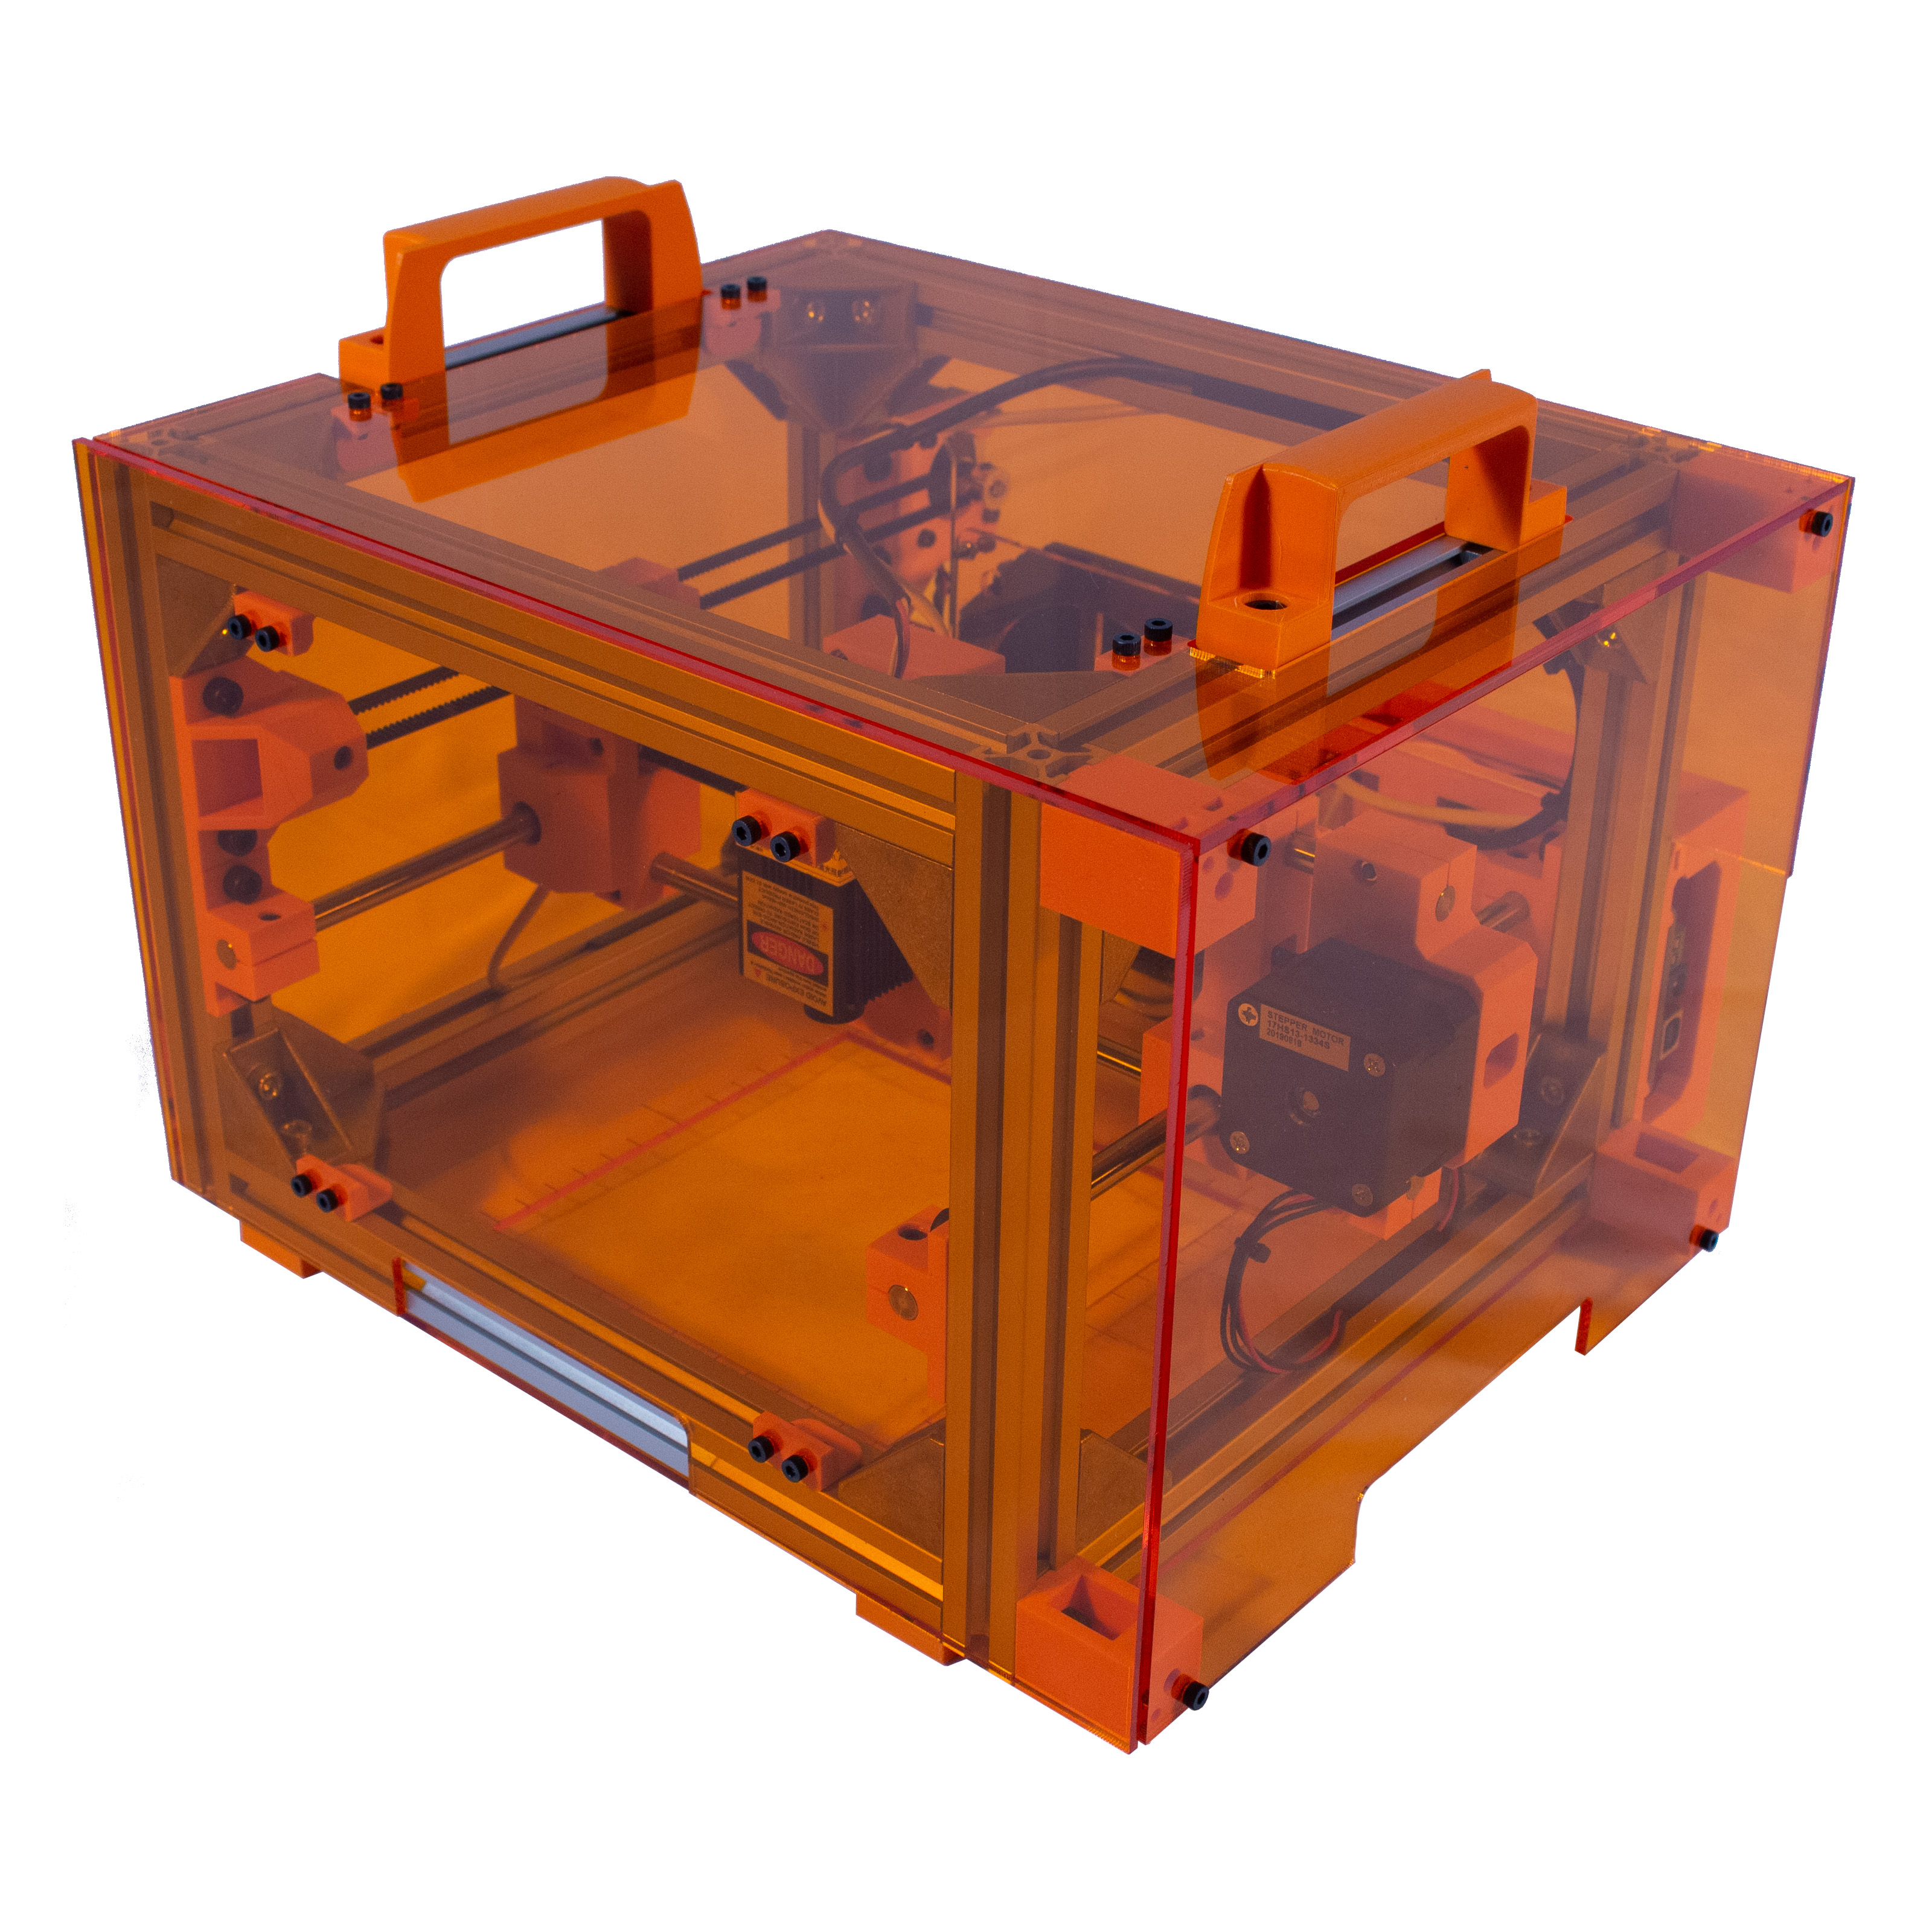
Oh yeah, I think I can. Say hi to the Engravinator.
Designing the Engravinator
Patrick and I started a few requirements:
- Place the machine on the material to be engraved, such as large furniture pieces.
- 100mm - 150mm square working area
- Use common and easy to source components
- Robust, compact, and lightweight
- Safe
- Open Source, of course!
While the idea mulled around from October 2018 to May 2019, I returned from Bay Area Maker Faire - R.I.P. BAMF 😢 - ready to rock and spent many, many hours over the next several weeks in Fusion 360 working through the design.
It was honestly not a foregone conclusion from the start that all custom components would be 3D printed. There was initial consideration of building it all out of laser cut acrylic parts. But as I started playing with the design and dimensions I realized that 3D printed components would allow for a more compact and accurate design.
Once decided that 3D printed was the way to go, I went all in designing features that were really only possible when 3D printed. This also led me down the road of using commodity 3D printer components. 8mm smooth rods, LMU8 bearings, GT2 belts and pulleys, and NEMA 17 motors are all there.
By the end of July, I was able to order the hardware and assemble the first prototype.

And it even moved smoothly the first time!
Better still, the first engraving quality was very promising!

The first couple weeks of August was spent refining and improving the design of the 3D printed components. In general the final design is largely unchanged from the initial design you see above. It was mostly tweaks to tolerance and small improvements to make assembly or usage easier. There’s still nothing like seeing a small problem, tweaking it in CAD, and a couple hours later testing it out.
Preparing for Launch
As the end of August approached we realized that we might just have something special on our hands and, while it was always going to be open source, it might just be worth going the extra mile. This was something we felt a lot of people would really love and that we could build a community around. This feeling was further proven when, more than once, we got the following in response to seeing the machine 😂

So in between further tweaks and improvements to the design, we’ve spent a great deal of time over the last several weeks writing extensive documentation and building the foundation of what we hope becomes an awesome community. We even went all in, building two more Engravinators, to properly refine and document the entire assembly process.
Just wait until you see the awesome pictures we got for the assembly guide!
Launch
That’s what you’re still reading for, right? Then head on over to:
While I might be known for many-thousand-word posts here, fear not, there’s plenty over on the official Engravinator website. So I’ll keep the details light here. But I’ll leave you with some parting information:
If you want to see the Engravinator in person, we’ll be at the East Coast RepRap Festival October 12-13, 2019 and hope to see you there!
The full assembly guide is coming soon, we promise! We’ve been a bit busy getting ready for ERRF and the guide is quite detailed. We will be finishing it up ASAP upon return.
Do you want an Engravinator but don’t want to deal with sourcing everything yourself? Tell us!! We have pending plans to offer ready-to-assemble kits with everything you need, but are still gauging interest. Drop us a line at engravinator@maniacallabs.com and let us know.
One More Thing
Oh yeah, did we mention that we designed a compact and awesome Grbl controller board specifically with the Engravinator in mind?
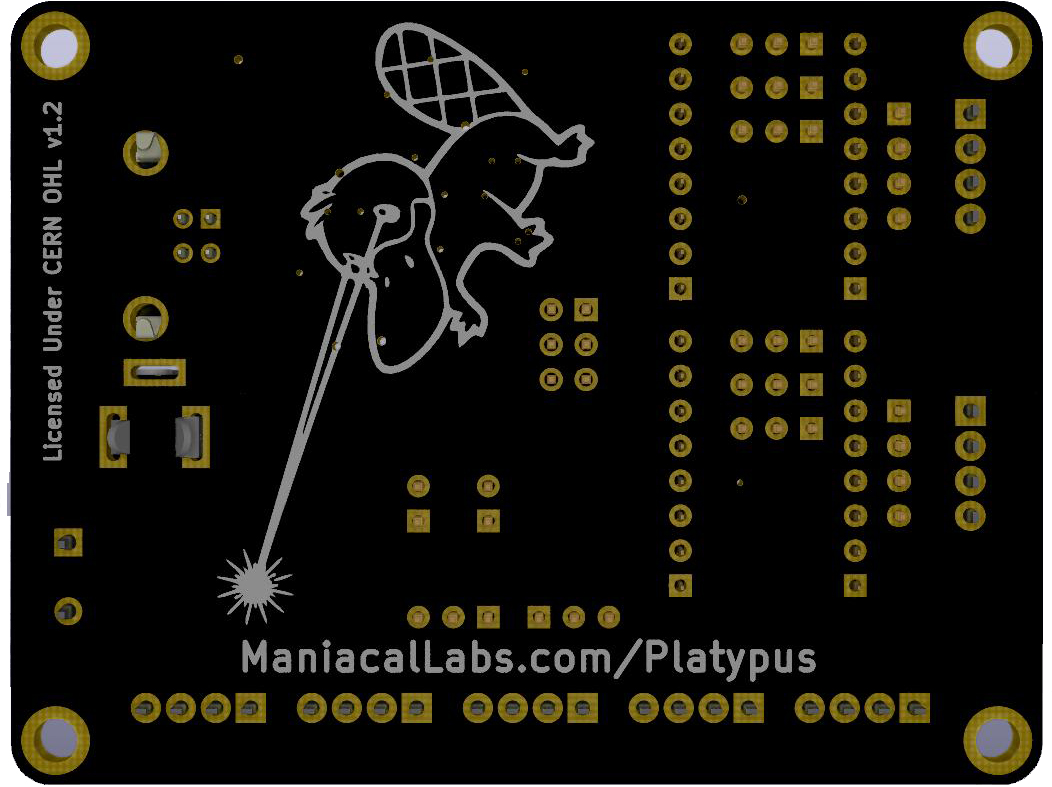
Or that it will soon be on sale all by itself through our Tindie Store?
No? Oh, well we’ll save all that for another post 😉