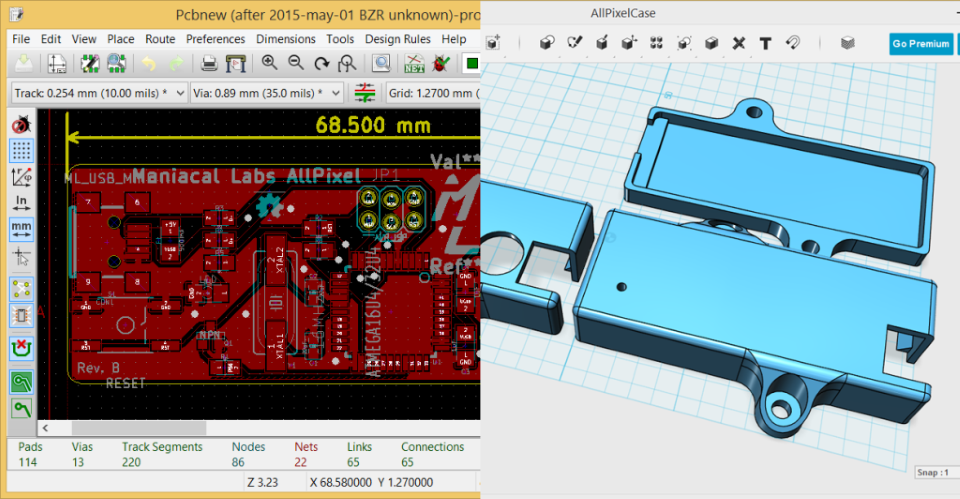
Loading KiCad dimensions into 123D Design
As the AllPixel Kickstarter neared an end, we wanted to make design files for a case available for anyone wanting to 3D print their own. However, neither of us are particularly well versed in 3D design, and the usual method of breaking out the calipers to laboriously measure all of the final board dimensions seemed silly when all the dimension and placement data was right there in KiCad. There had to be a way to get the data from KiCad into our usual design tool, 123D Design. Yes, there are more powerful tools out there, but 123D is easy to use and free, so it’s been enough for now.
Fortunately, 123D recently added SVG import capability. Unfortunately, it seems to misinterpret units information in the SVG files generated directly by KiCad and renders the output far to large. For example, the AllPixel came out to over 2 meters! Try as I might from this tool and that to convert the KiCad output to an SVG with the right units and dimensions, nothing really worked. Finally, I realized that I would need to just take the output and scale it appropriately. A little trial, error, and some math yielded the steps below. Note that it’s tempting to export direct to SVG from KiCad but it’s export is not very exacting so I was never able to get it working. Sadly, going through gerbv was a must.
Here’s how to make it work.
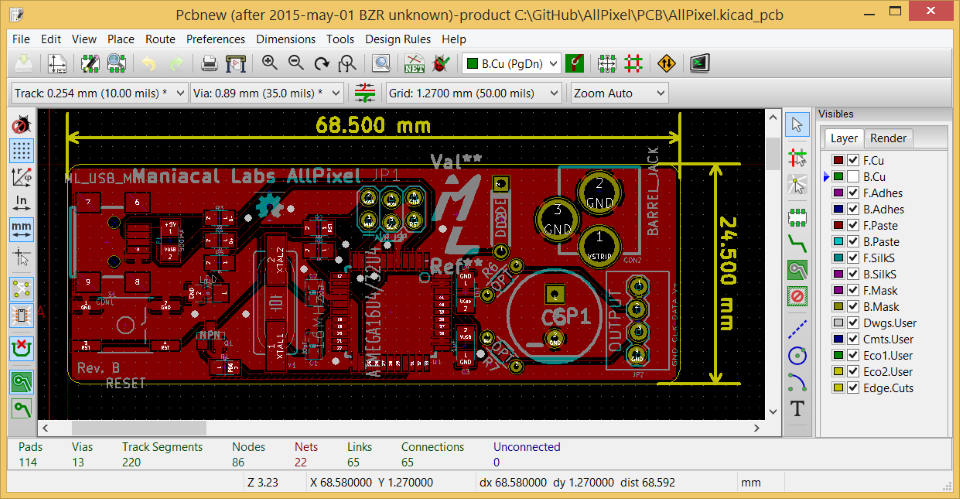
Open up PCBNew for the board in question:
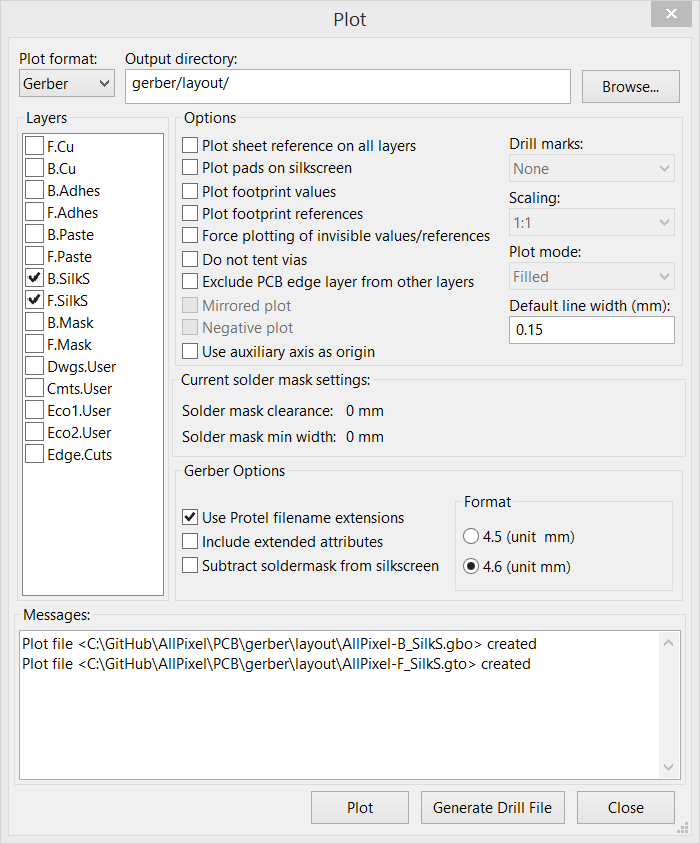
Select File > Plot and then select the following options. The only needed layers are F.SilkS and B.SilkS (if you have a back silk layer) and be sure to uncheck “Exclude PCB edge layer from other layers”.
Next, we need to load the file(s) generated above into gerbv a great gerber file viewer and editor. If running Linux, you can likely install with your package manager of choice. On Windows, download the latest installer from SourceForge. On Mac, follow the instructions on the gerbv website.
With gerbv installed and opened, select File > Open Layers and choose the file(s) generated above which should look like *-B_SilkS.gbo and *-F_Silk.gto.
Now you should get rid of any extraneous parts of the file. Basically, anything that won’t contribute directly to the 3D design like logos or small components that won’t need to be designed around. Just click to select an object or click and drag a box to select many. Then press the delete key to remove them. For the AllPixel, this left something like this:
Once this cleanup is done, export the results to a single SVG via File > Export > SVG. Just be sure to add the .svg extension as gerbv will not. After saving, you need to load the new SVG file into Inkscape which can be downloaded here.
Once loaded, first use Ctrl+A to select everything, then Shift+Ctrl+M to open the transform panel. Select the “Scale” tab and the enter 35.278% for both dimensions and click apply.
This should yield a smaller drawing that looks like this:
Once this is done, decrease the document size (which helps loading into 123D) via Shift+Ctrl+D to open document properties and choose the “Resize page to drawing or selection option”:
Almost done! Save the SVG to either the original file or a new one and then open 123D Design. Import the SVG via Top Left Menu > Import SVG > As Sketch.
The SVG data will now be loaded in as a 2D sketch and will be near-as-makes-no-difference the exact size from the KiCad dimensions. As you can see, the original was 68.5mm and what is loaded into 123D clocks in at 68.501mm. Within 1/1000th of a millimeter seems close enough for a 3D printer with a best resolution of 100 times that :)
That’s it! Now you can use this 2D sketch to base your 3D design on. Things like the holes for the capacitor, and connectors were as easy as extruding those shapes through a solid. Granted, be sure to check your tolerances as you may need to increase some dimensions slightly, but now they will be in the correct place. Also, this doesn’t help with the heights of anything, but you’ll be a lot closer than you were before!
While figuring this all out took a while, it was well worth it because I was then able to create our AllPixel case and have a perfect fit on the first try! That is certainly a first for me :)


