ThinkGeek Wooden Clock Build
What’s this?! Wood?! There’s not even any lights!!
True, but it was a fun build, and I might put some kind of light-up something or other on/near it, but I really like how it looks by itself. Anything added would only be to accent it. For now, here it is; working. Most of the time.
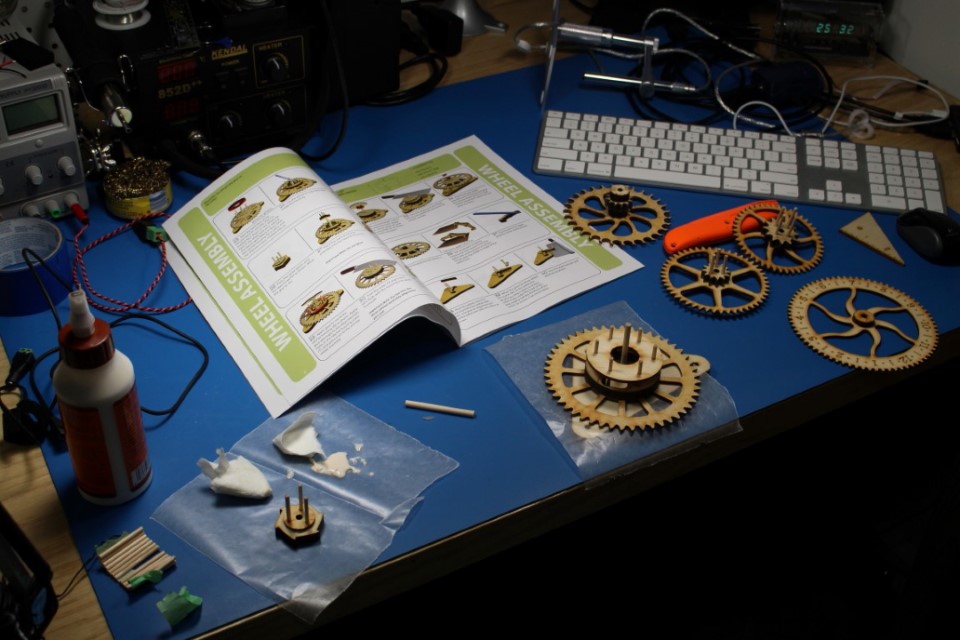
The above video is the result of a few days work putting together this awesome wooden clock kit from ThinkGeek. All of the parts are laser cut from…some kind of wood. I’m not an expert on woods. Regardless, the first, and most tedious, part of the build was sanding each tooth on each gear to clean off the residue left by the laser, and to apply a coating of graphite for lubrication.
Then came a bunch of gluing. And some more sanding. Lots of sanding. It was critical that any surfaces that would be rubbing against each other be smooth. And coated with graphite. They included a small pencil with soft lead, which worked very well.
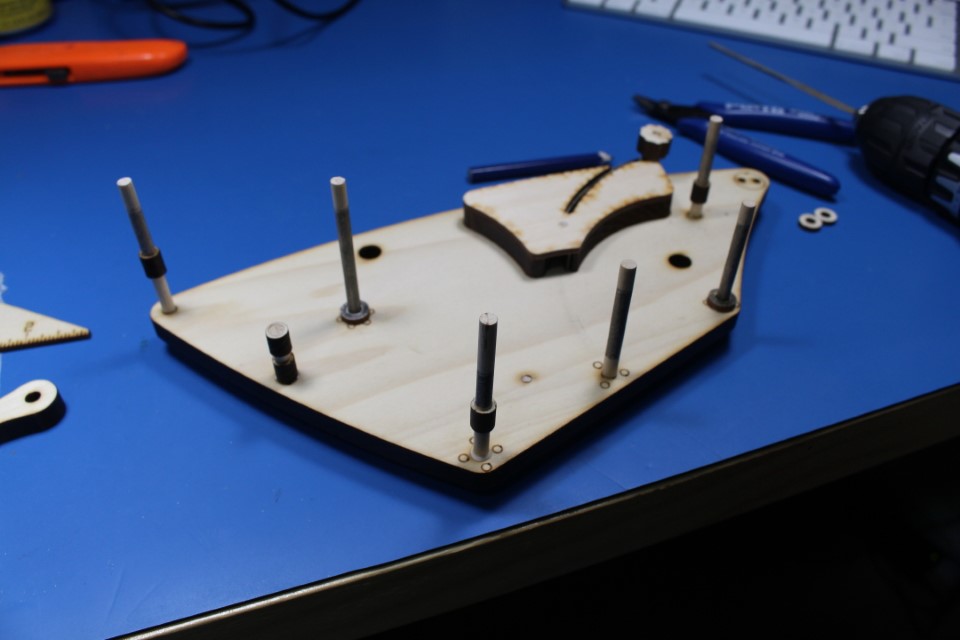
Once the mounting and spacing pins were complete and attached into the base plate (above), the first fitting and testing of the gears could begin:
Happily, everything seemed to fit pretty well. It’s true what they say in the manual: the more time you spend preparing the gears and the other pieces, the better everything will fit and the better the clock will work. Tedious, sure. But worth it. I did find that one of the pieces was missing. There’s a small half inch by half inch dowel that has a groove in it wherein the pendulum arm hangs. I had to fashion such a piece out of a dowel from a craft store. As a result, the groove isn’t perfect, and you’ll notice in the video there’s some…slop…in the movement of the pendulum. I think some careful work with razor to re-shape the groove should fix this.
All in all, a very cool kit and a fun build. I might post more as I have a chance to tweak it and to possibly add some, shall we say, Maniacal yet tasteful touches. But again, it’s a work of art itself. I may just enjoy it as-is. We’ll see.
-Dan


