Enter the Polar Giraffe!
No, we’ve not genetically spliced a polar bear and a giraffe. Although, we’d be interested to see what that looked like…
Regardless, I present, for your consideration, the Polar Giraffe!
Ah yes, the name. Well I had a typo in the main project folder on my NAS device, so the project is known to the file system as “../PolarGRaph”. My mind can be a silly place sometimes, and upon seeing the typo, I exclaimed “Polar-G-Raph!”, and the Polar Giraffe was born.
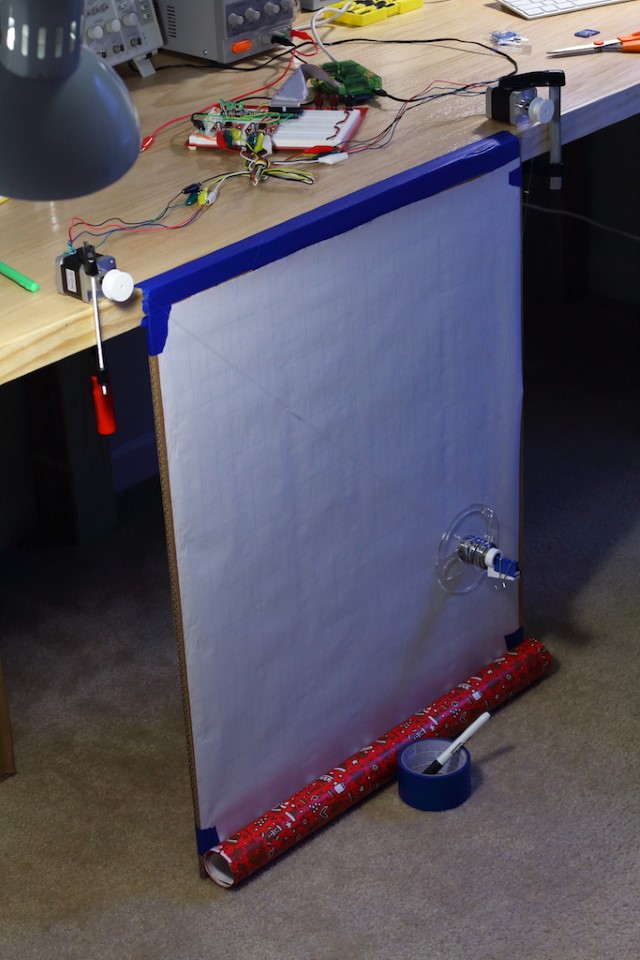
In short, it is a drawing robot. The pen gondola is suspended between two stepper motors with some lengths of mono-filament line. With some clever maths, the pen can be moved about the drawing area based on how much each motor reels in or lets out. It’s not a precision drawing device, but it’s not intended to be. Theoretically, you can have a canvas of any size, all the way up to the stupidly large. I’m content with a nice chunk of wall for the time being.
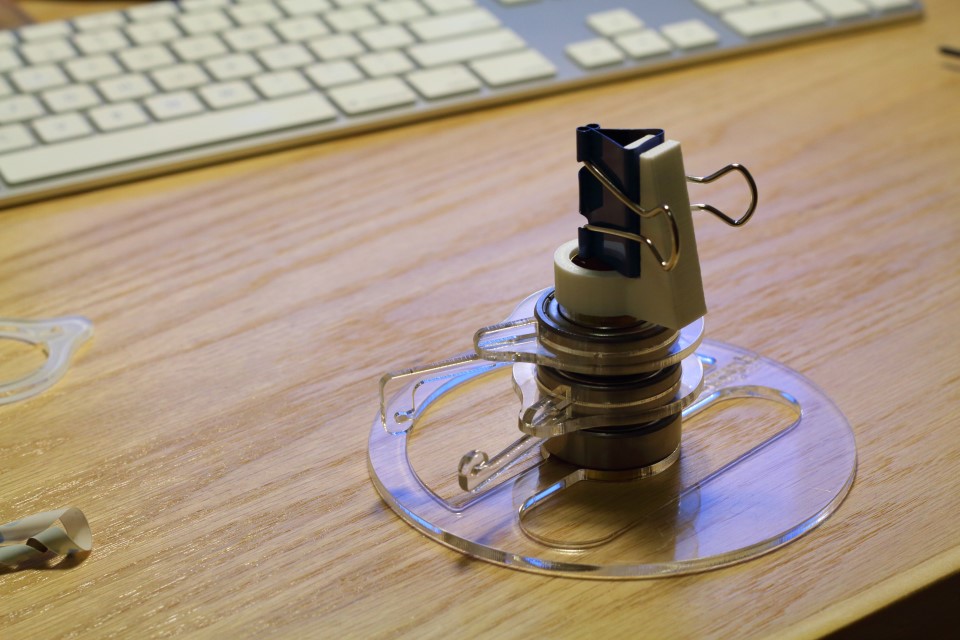
This is a side project I’ve been working on for a little bit. There have been several variants of this device from people much more clever than myself. One of the best examples being the Polargraph. In fact, I purchased the pen gondola kit from Sandy, who has all of the bits you’d need to build your own Polargraph available for purchase. I have to say, it’s a change for me to have something of such elegance and precision on one of my projects, which tend to have pretty high kludge factors. My particular implementation is firmly based on a bit of awesome work done by Brandon with help from the Dallas Makerspace. Major, major kudos to the work they did in realizing this concept initially. I only hope to have a worthy tribute at the end of all this.
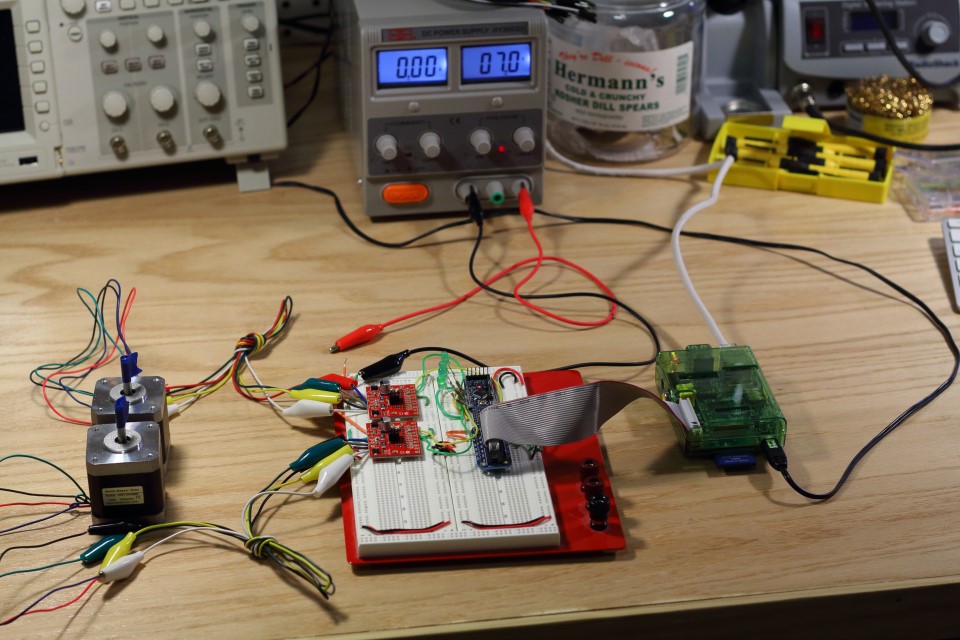
His drawing robot has at it’s core a Raspberry Pi sending commands to an Arduino, which in turn drives the stepper motors (I’m using Sparkfun Big Easy drivers). The Pi software is all in the Go language. One of the fun parts of this project will be going through the code to better understand how it all works. My first goal was to see if I could get his code working on my hardware. Tracking down all the dependencies was a bit of a chore, but I probably was going about it the hard way, hehe. After a bit of work, the code was not crashing when I tried to run it. Success. On to the hardware!
I had previously acquired a pair of hefty steppers from Sparkfun. These are probably way more then this project really needs, but I had already bought them soooo lets make them work! The motors are rated at 1.7A/Phase, so the EasyDrivers Brandon used wouldn’t cut the mustard. Fortunately, Sparkfun sells Big Easy drivers. Like you do. Same drive signals, but able to handle motors of up to 2A/Phase. Perfect. In the interest of not burning out the driver chips, I adjusted the driver output to a little under an amp, and added heat sinks to the chips. Since the load isn’t very heavy, the 1A is plenty for these motors to be able to hold and move the gondola with ease. With a bit of 3D print-ery, I had a pair of spools and was ready to start winding fishing line!
As you can see from the top picture, this project is still in the testing phase. I’m learning a lot of new tricks with the Pi, and this is the first time I’ve heavily used stepper motors in a project, so there’s been some education there. And that was one of the main reasons I wanted to do this project. I get to learn about new stuff, and I (hopefully) end up with a cool thing at the end. And I’m obviously not trying to pass of this as an original idea, or to say that I’ve done any of the “hard” work, hehe. This is just a thing I’m doing for me. I encourage the interested to take a look at Brandon’s write-up and to pay a visit to Sandy over at Polargraph.co.uk.
I fully plan on providing updates and lessons learned as I go. So stay tuned for all that!
-Dan


